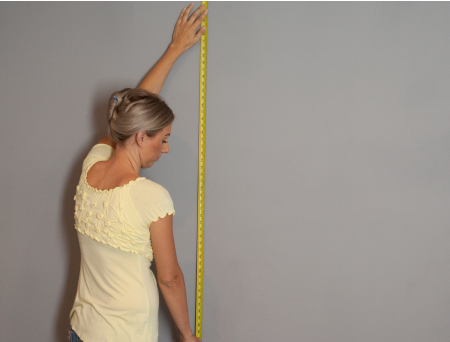
SPECIAL CLEARANCE SALE 50% OFF!

Planning is key!

It is easiest if installation begins at one end and cuts are planned out in advance. For a straight forward horizontal wall installation the steps would be as follows.

MEASURE THE SPACE
Measure the space. Calculate how many boards high you can go and whether any boards will need to be cut down (along the long side to reduce the height of the board). Think through where you would want the cut boards - bottom, top, or middle of your layout?
CORNERS MADE FOR BETTER LAYOUTS
We also make corner pieces if you’re trying to do a layout that turns a corner or needs a finished edge.
MAKE SURE THERE IS NO DUST
Our adhesive works best on clean, smooth, finished surfaces. Uneven or surfaces with dust will limit the effectiveness of our adhesive. Higher sheen premium paint finished walls may require light sanding prior to installation. Dust off and ensure the wall is dry and clean.
PEEL OFF AND PRESS
Peel the paper off the adhesive and place your first board. Be sure to press evenly to ensure maximum adhesion! Place your second board next to it. You’re getting the idea!
MAKE STRAIGHT LINES
Make sure you’re using a level to keep the boards straight.
CUT YOUR BOARDS TO ENSURE GOOD FIT

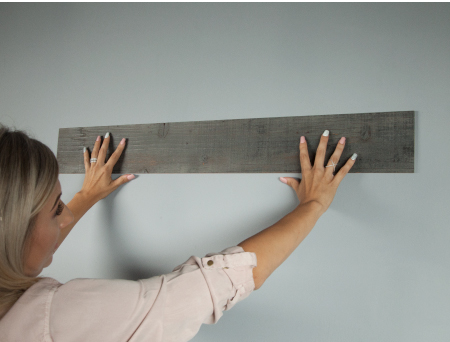
Congrats! You've made it to the end of the row. Carefully mark your cut and use a box cutter (3 firm cuts on each side, then snap), circular or power saw to make a clean cut. Here's a quick video on how to cut panels using just a utility knife

50% SPECIAL CLEARANCE SALE!